⎨I adore making wreaths!⎬
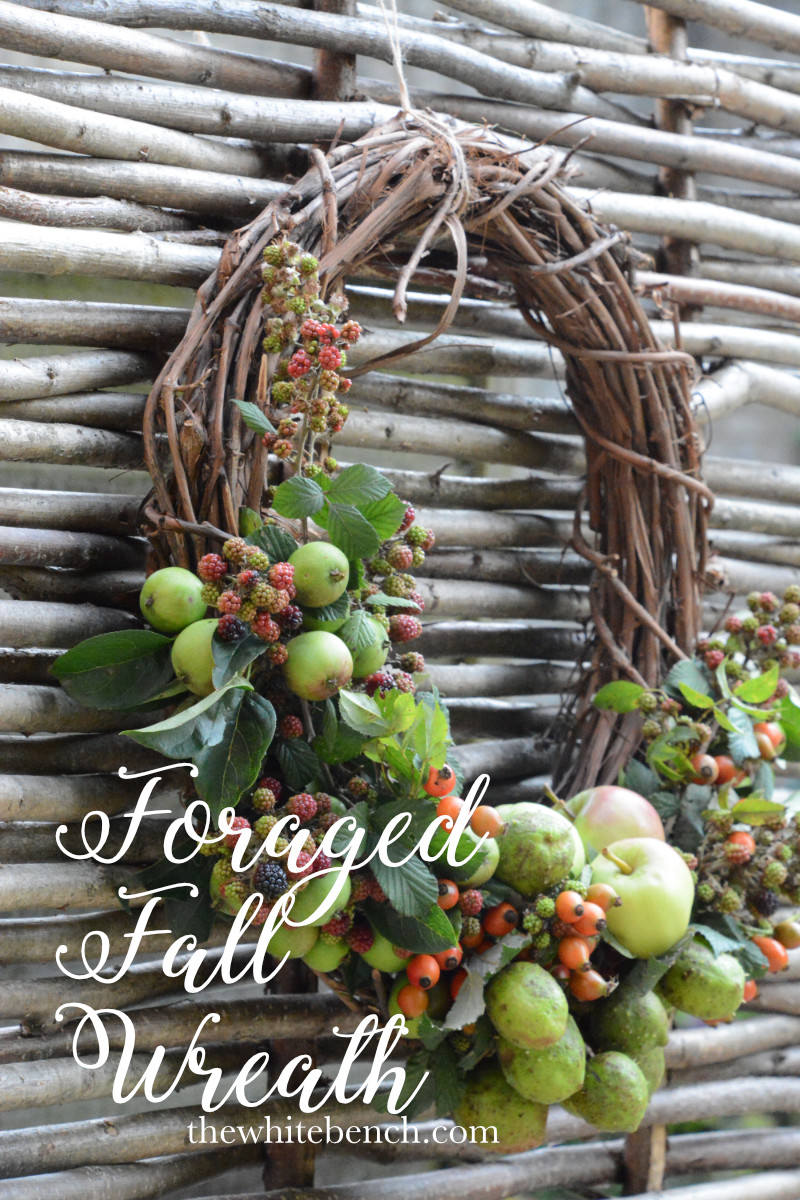
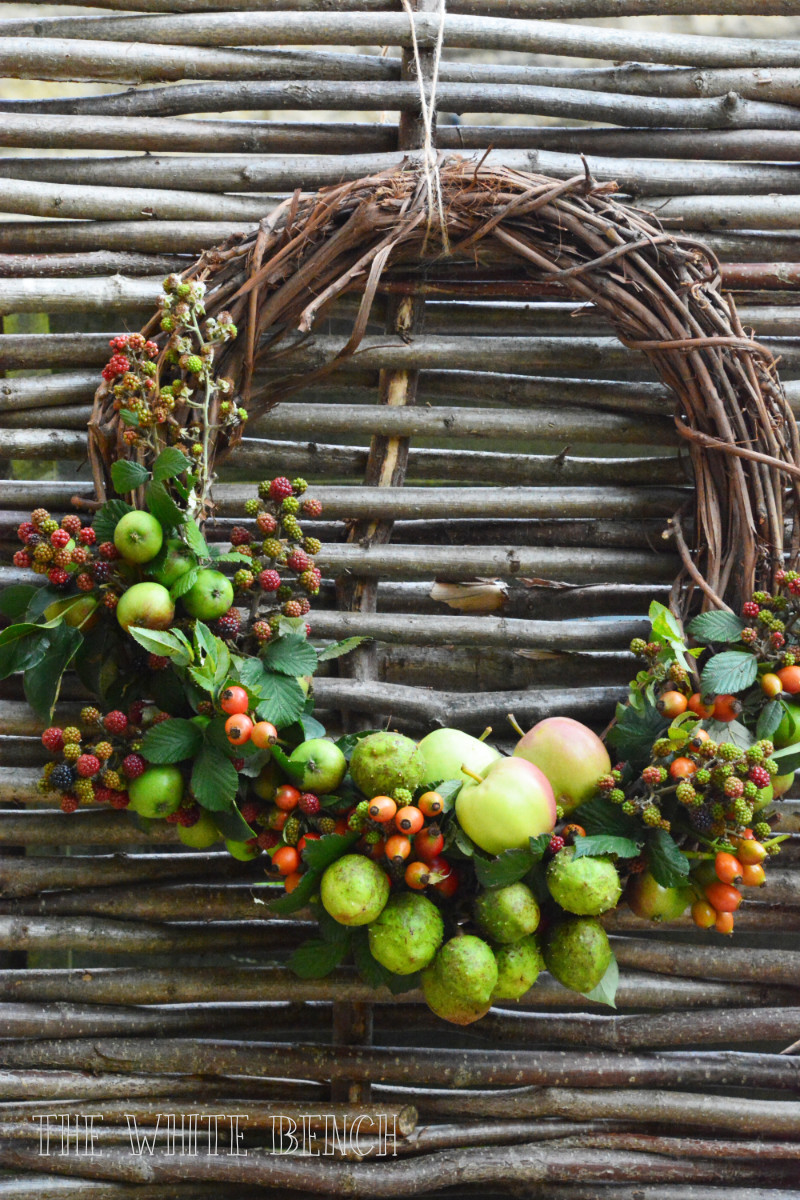
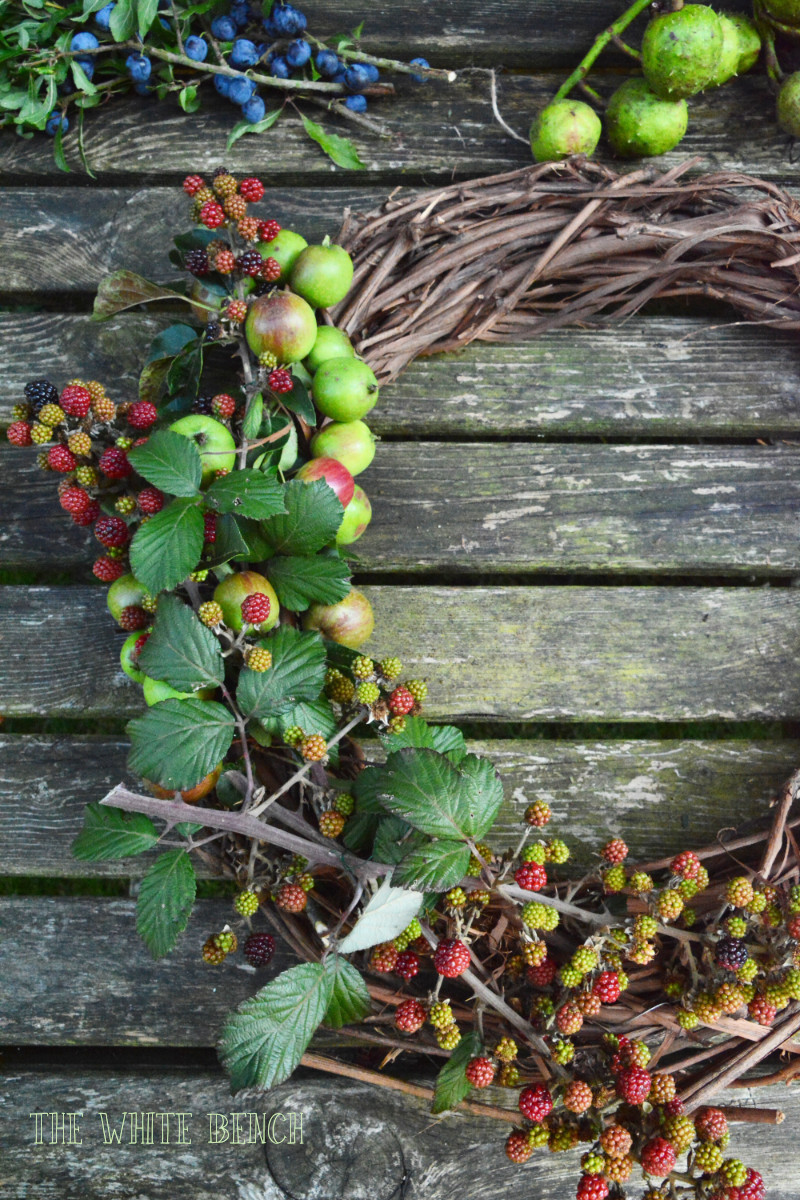
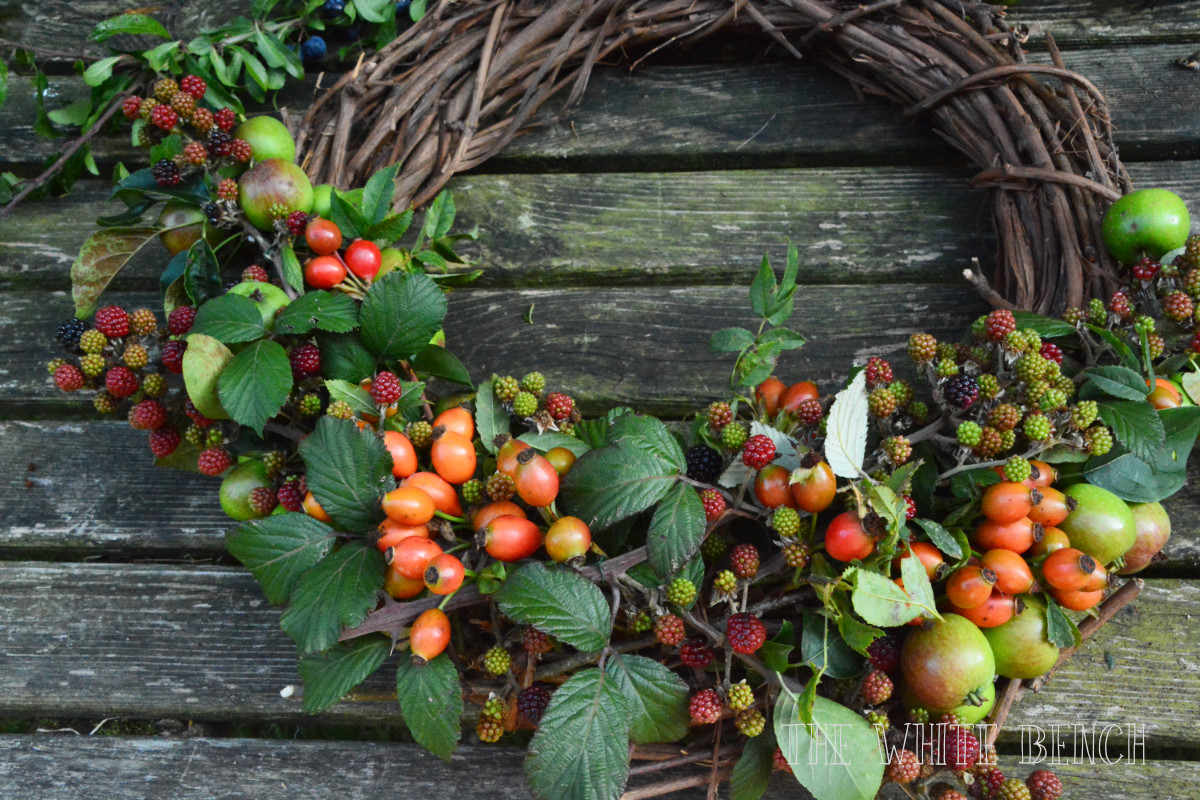
Today I wanted to share with you this wreath I have made!
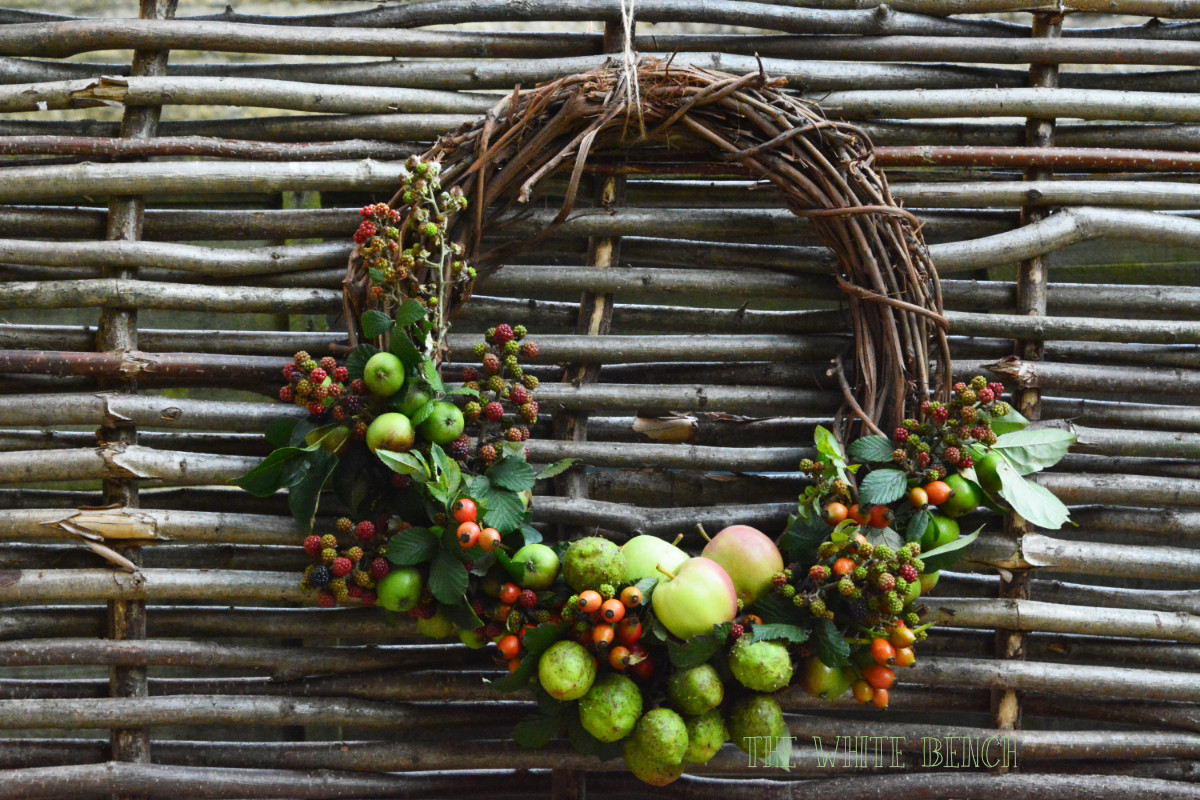
A gorgeous sustainable and compostable wreath made with foraged elements exclusively, to grace your front door, balcony, or garden shed. It makes a wonderful gift as well.
Since there is no sponge to keep the foraged elements wet, it’s ideal to keep this outside.
*
Tools & Supplies
For this project you will need:
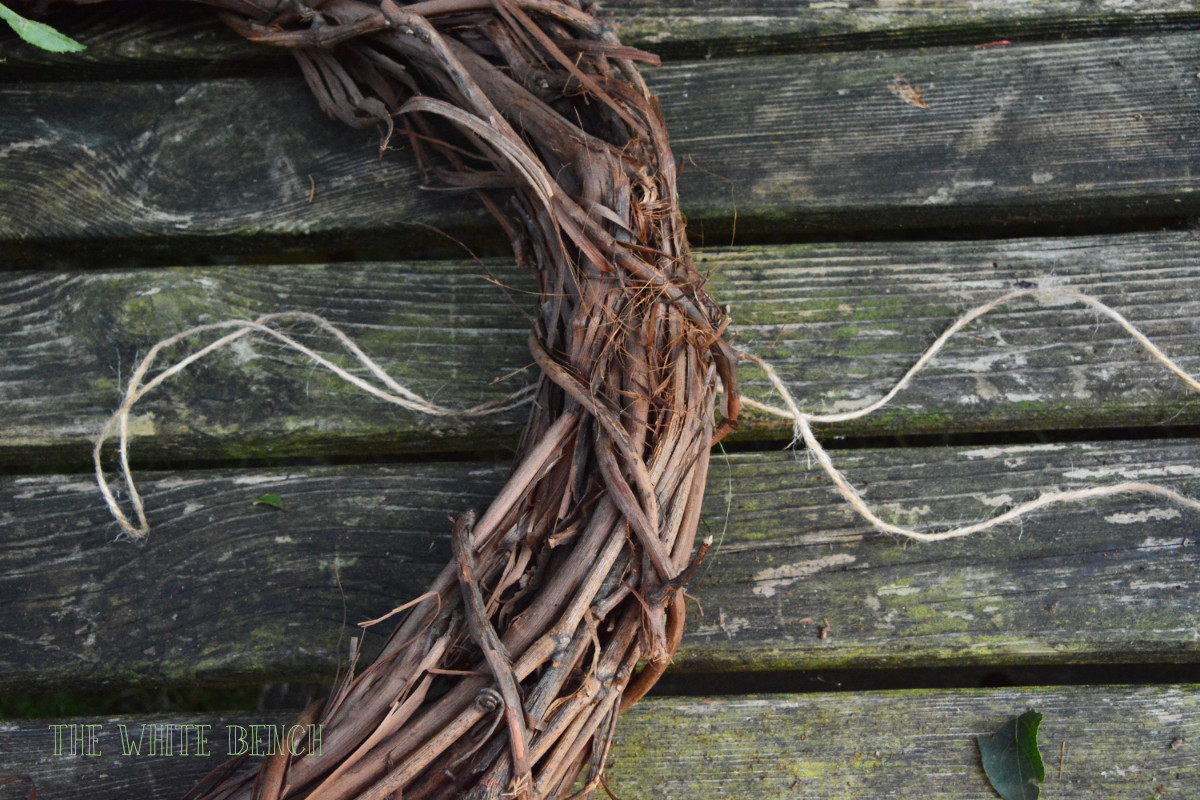
one wreath of any kind (handmade or not)
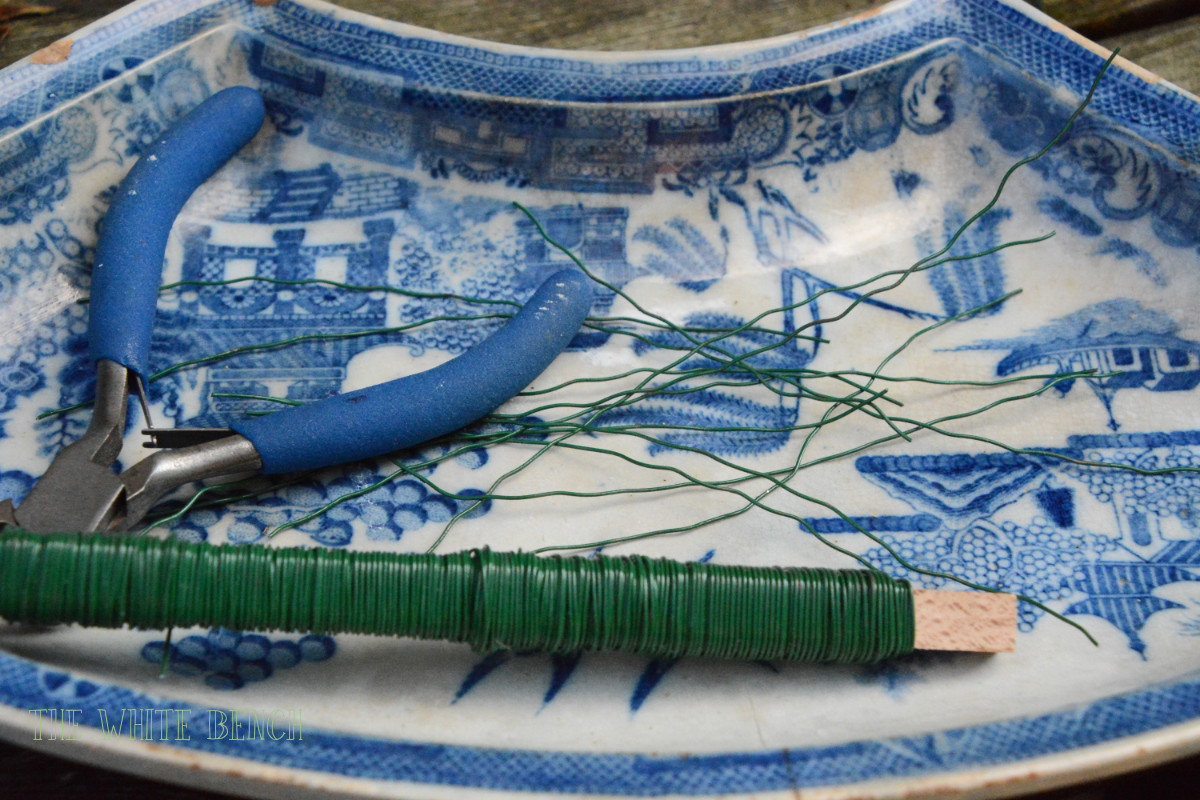
green florists’ wire
secateurs
wire cutter
gloves
twine
scissors
1. Gather all your supplies; it’s better to work outside or on the kitchen table, where you can make a bit of a mess and clean easily :)
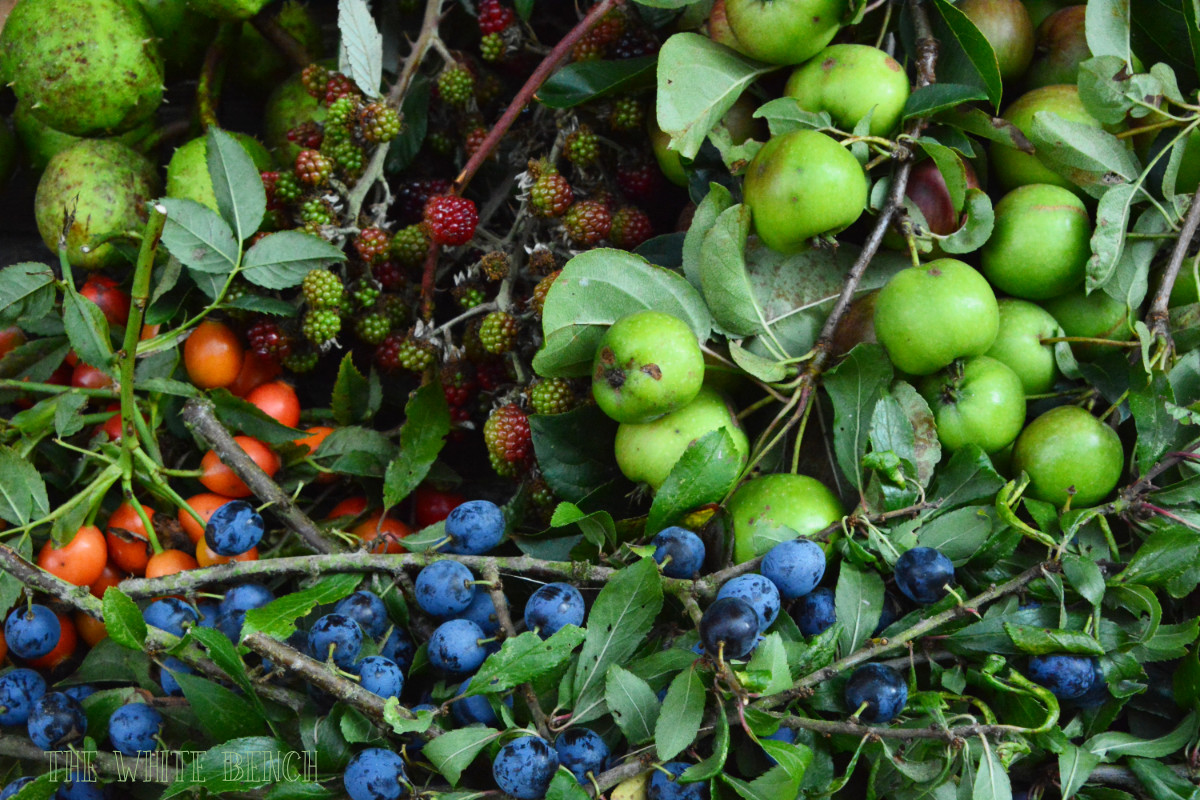
2. Sort out your foraged berries and foliage, and keep them separated while working.
3. Cut wire into pieces, approx 10 cm./4″ long.
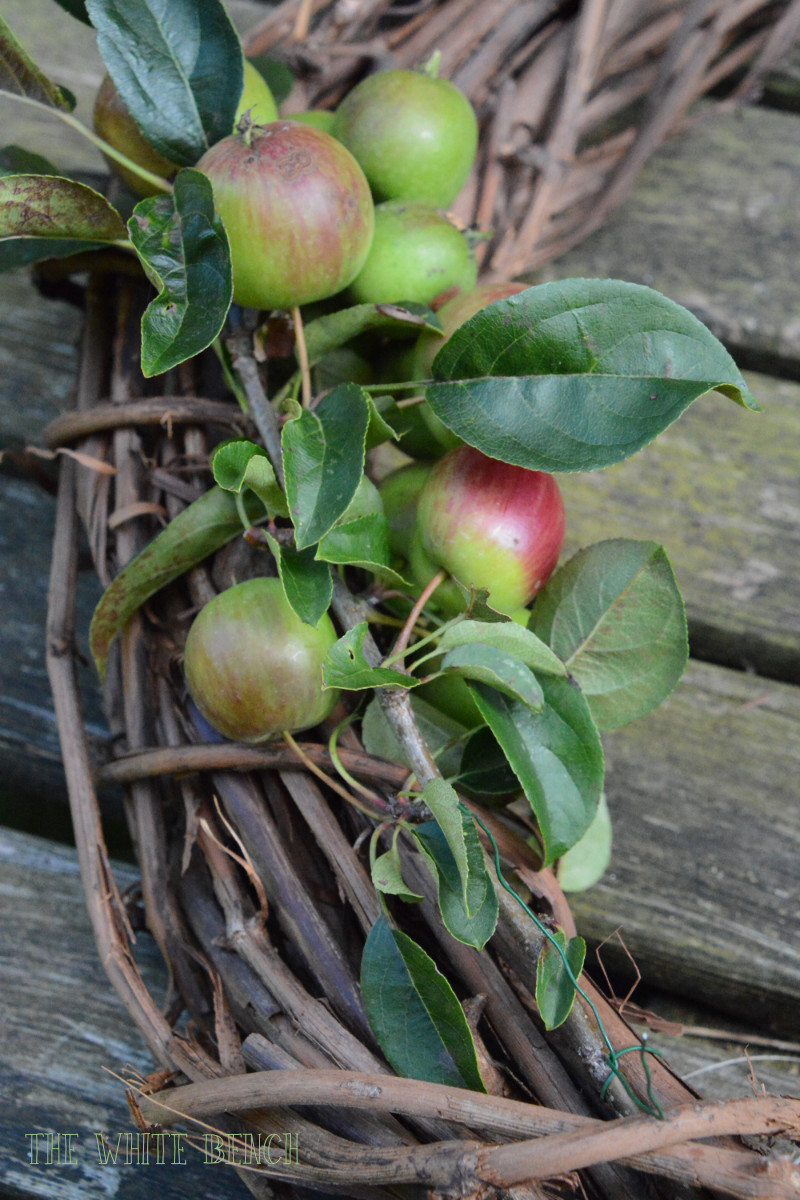
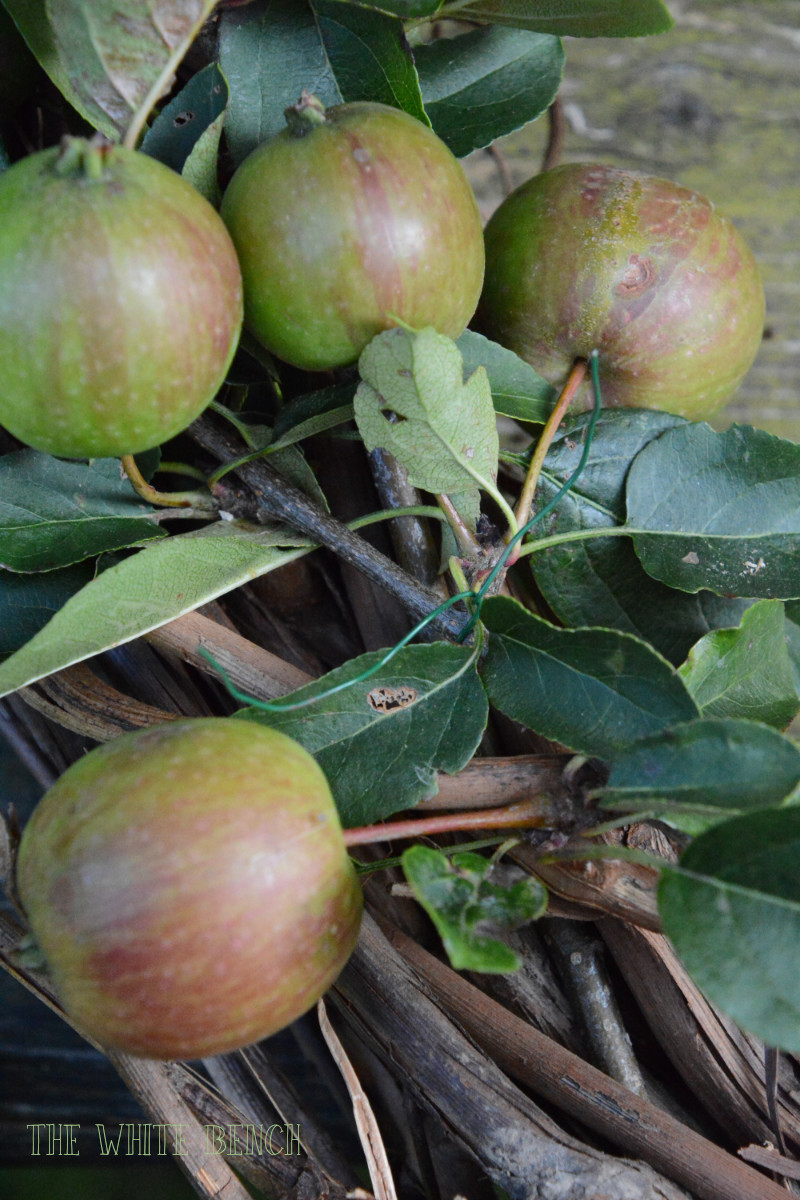
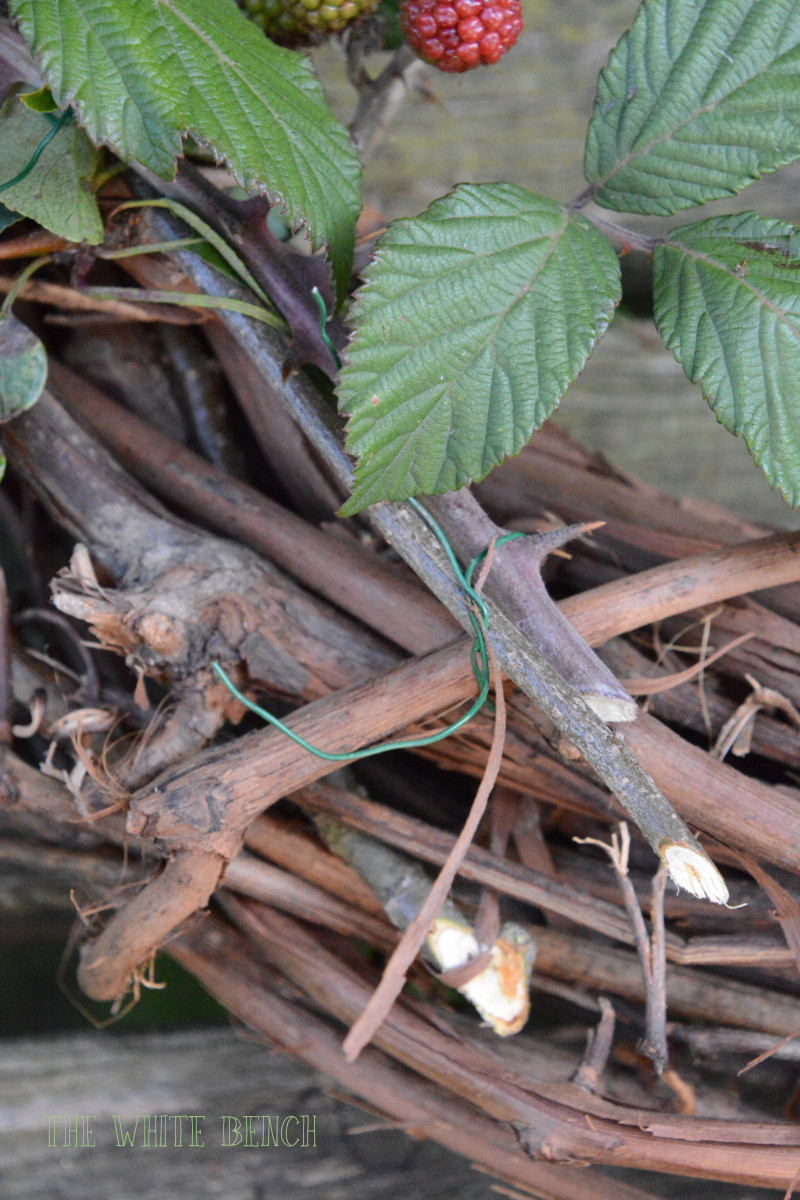
4. Insert the first foraged element (in my case, tiny crab apples) between the vines of your wreath, and secure it with a piece of wire, twisting it and leaving it open.
5. Add a second element of the same type in a pleasant way, layering it over the first one. Secure it with the same piece of wire you have left open. You can leave it open again to add more elements, if long enough. Otherwise, close it by twisting it, and bend it downwards. Trim.
6. Secure your foraged elements well in multiple spots, using other pieces of wire, so that they remain well attached to the wreath.
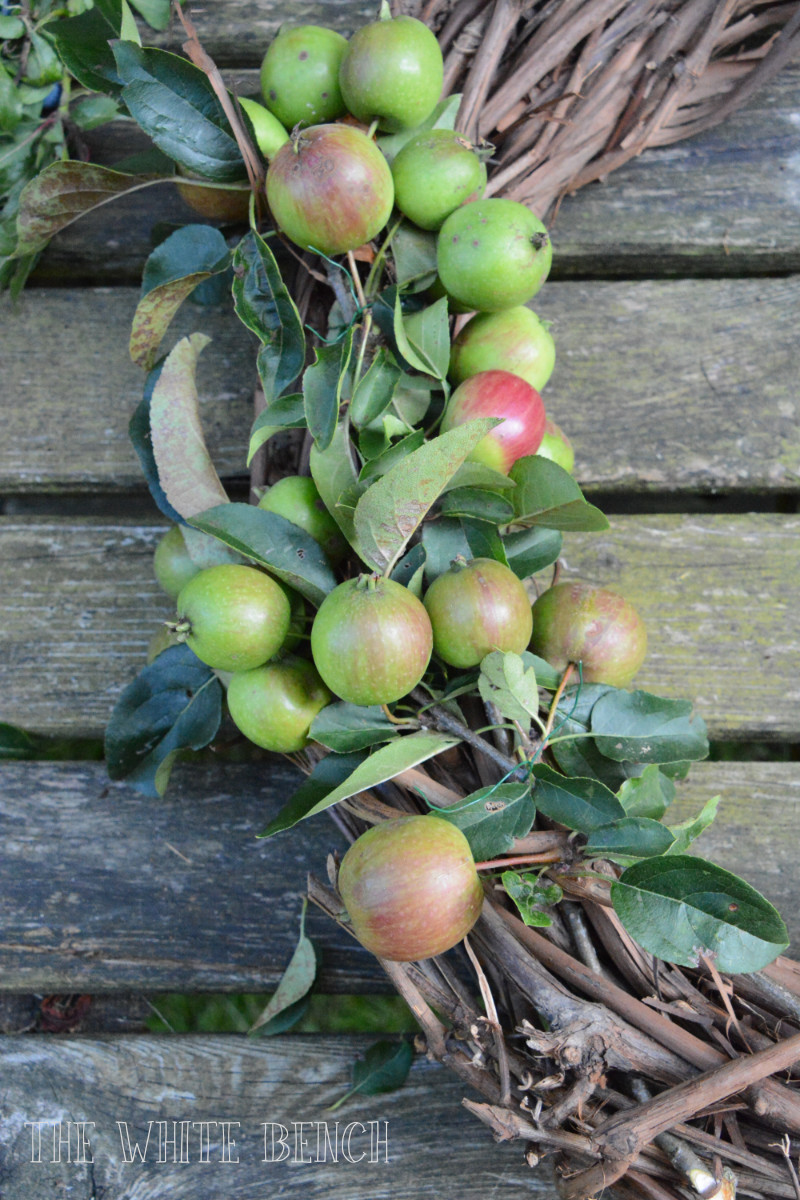
7. Continue adding the first type of element, rotating the wreath as you proceed, until you’re pleased with the result. Secure well with wire in multiple spots.
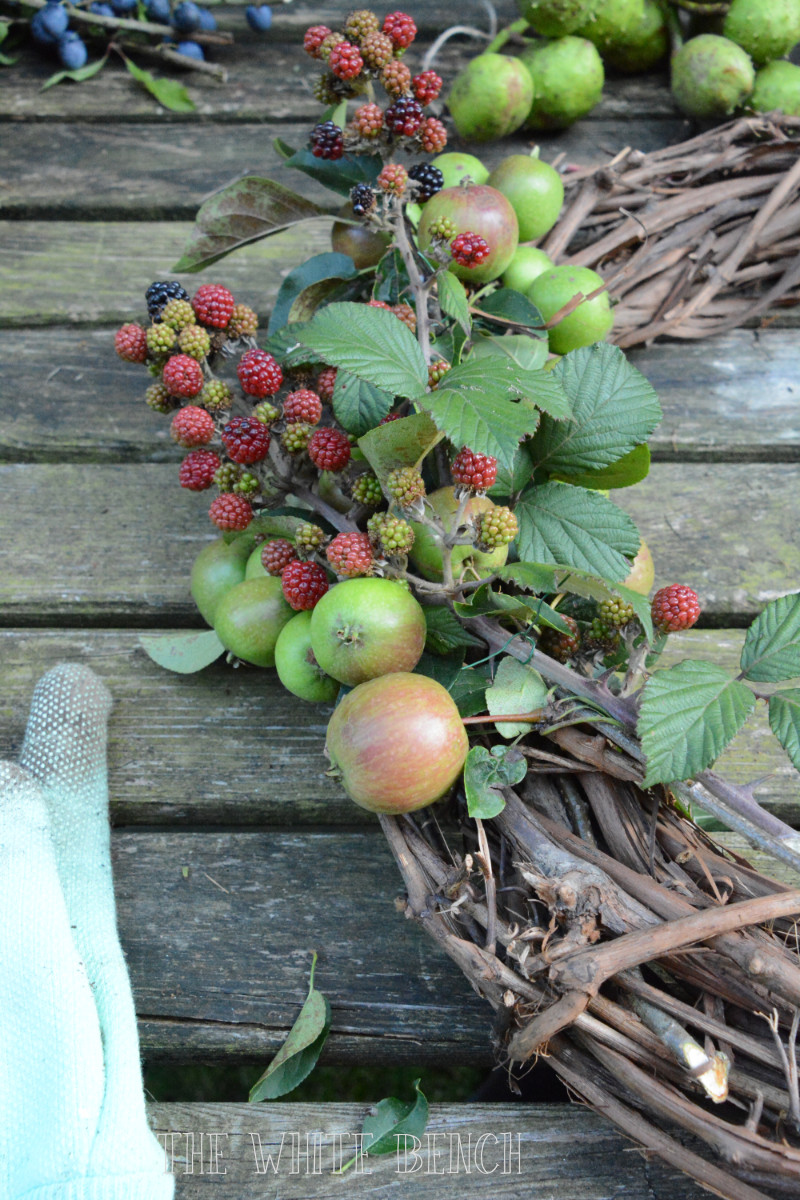
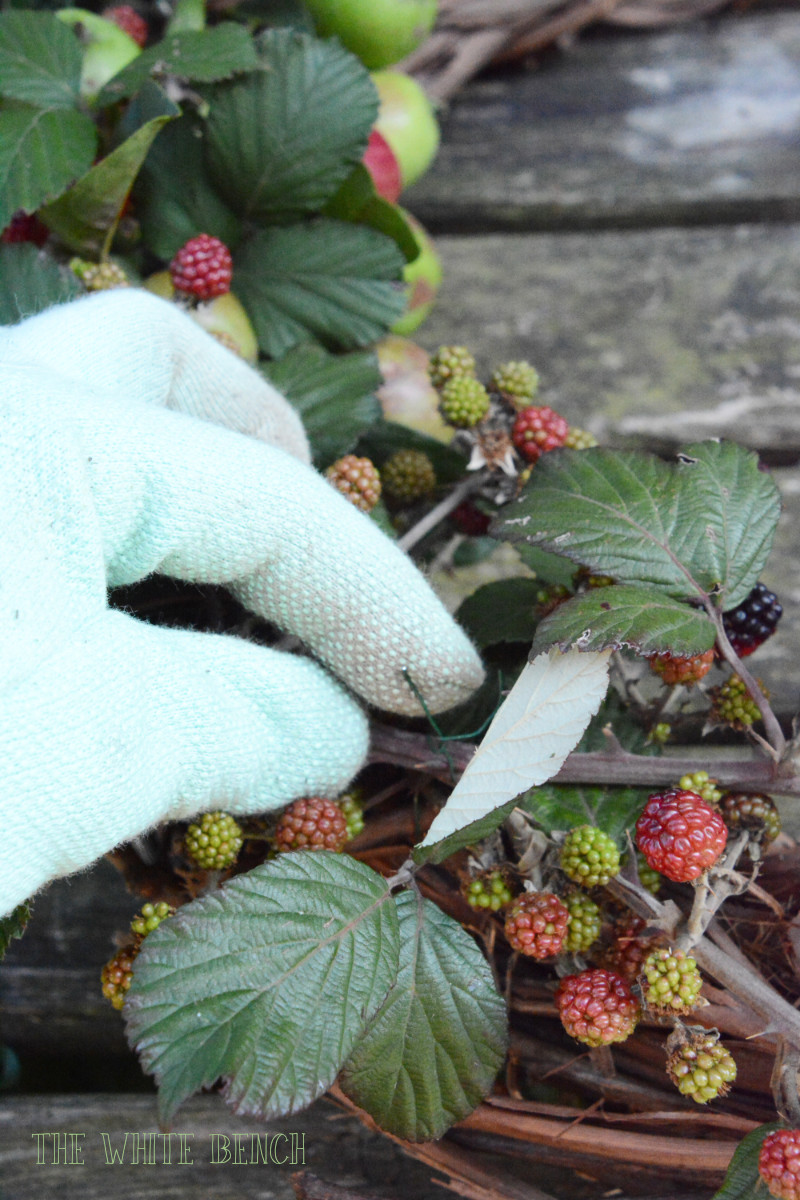
8. Pass on to the second type of element (in my case, wild blackberries). Create a second layer over the first one, using the wire pieces already in place or new ones to secure.
9. You can also attach the new elements on the first layer, instead of attaching them directly on the wreath. Just pay attention that everything is solidly attached to the wreath and stable, otherwise when you hang it it will be a little disaster :)
10. Before attaching new elements, step back and observe your work from a distance.
11. Criss-cross elements to add interest, always following the circular shape.
12. Secure the wire as you go, and keep adding elements until you’re happy with the composition.
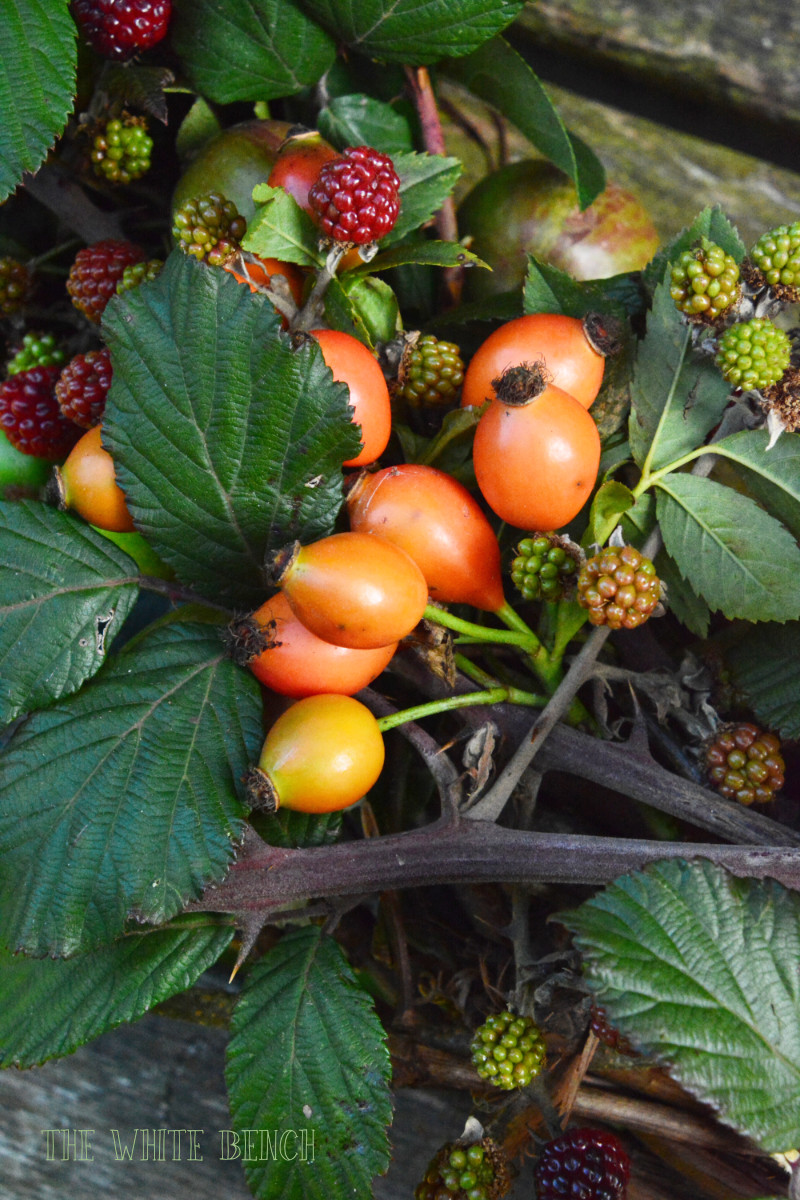
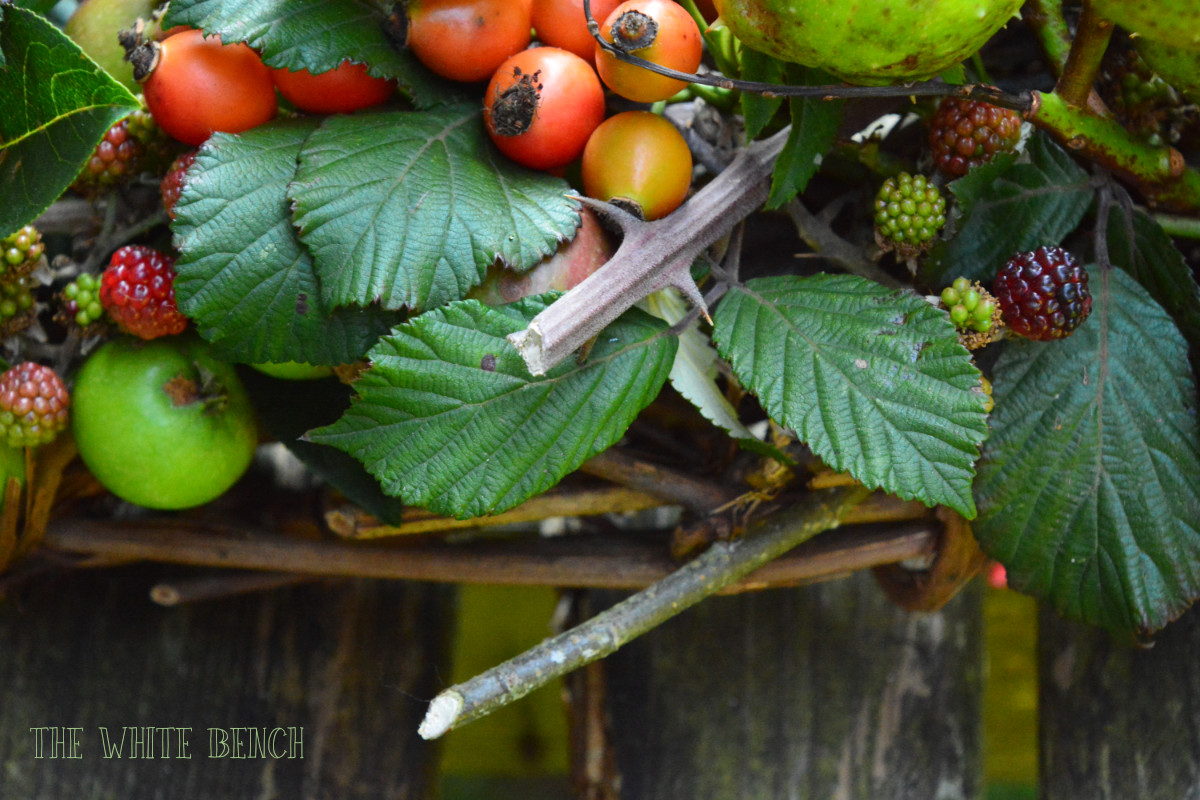
13. Now you can add other types of elements (for example, rose hips in my case). Just insert them between the other layers without using wire, if stable enough.
14. When you call the wreath complete, trim the long stems and hide the wire well under the leaves, for a neater look.
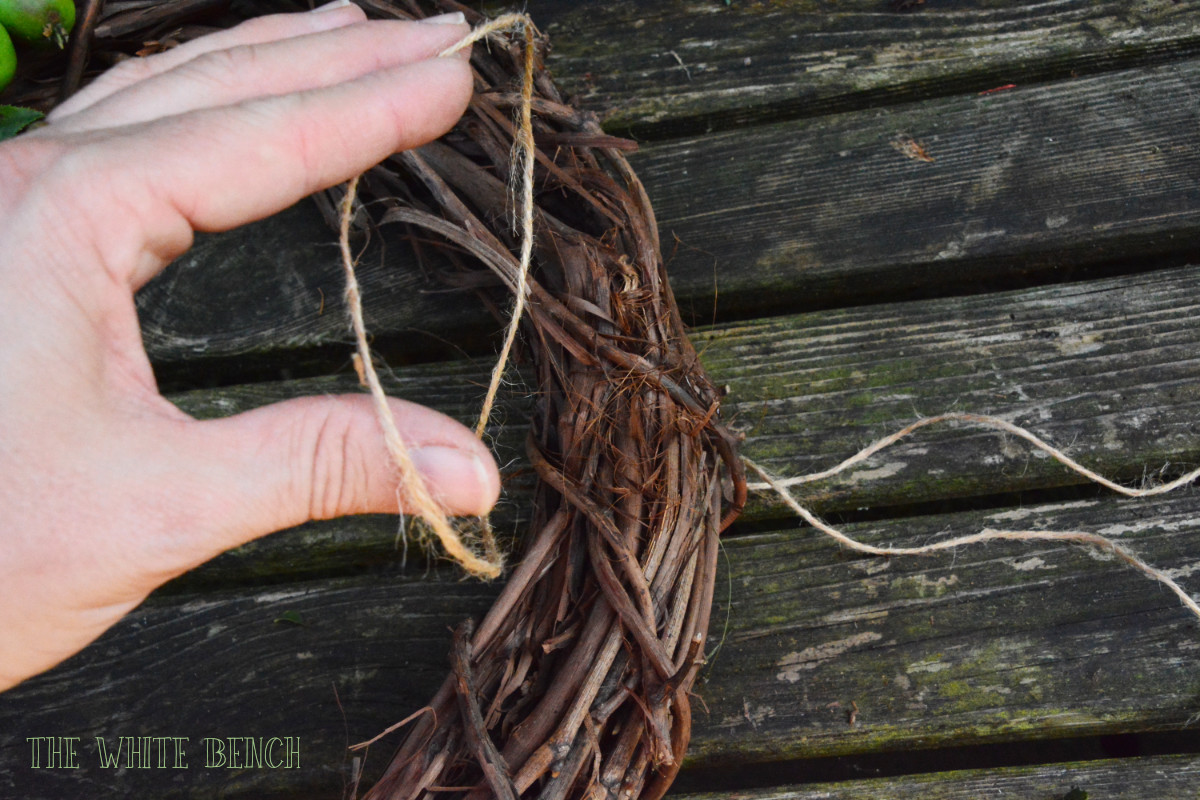
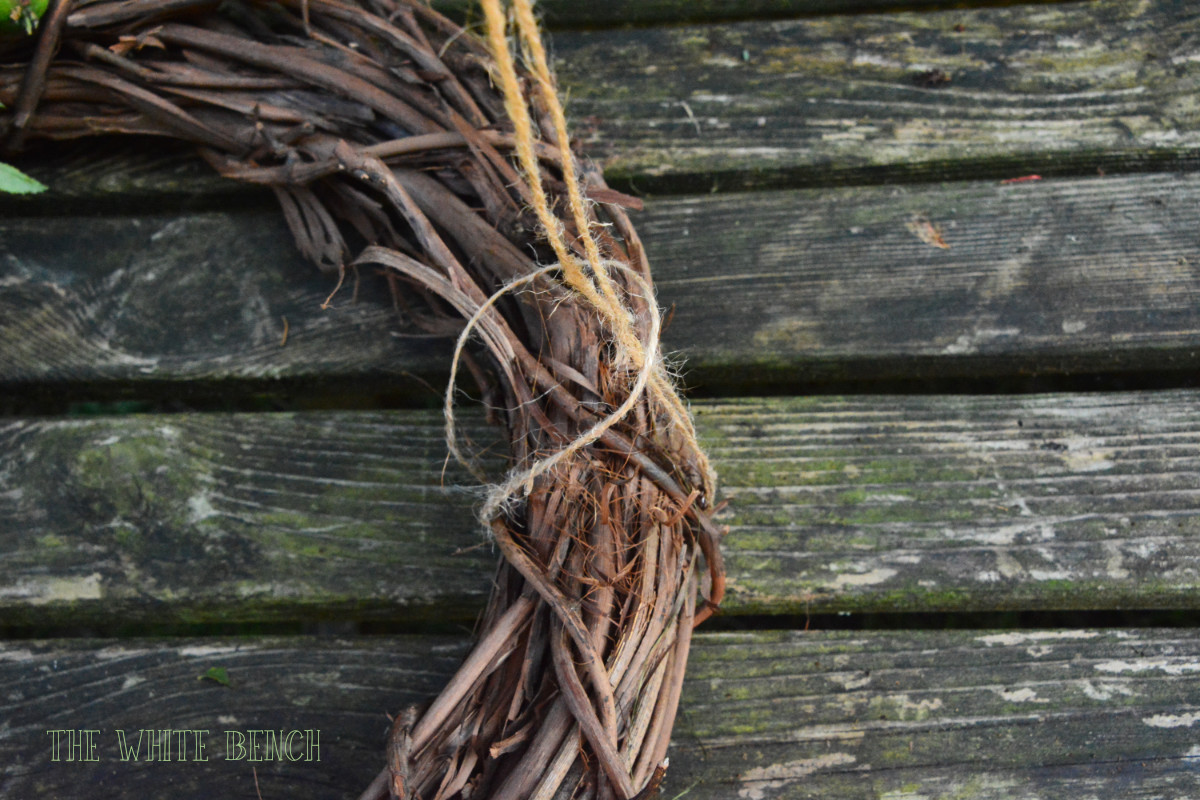
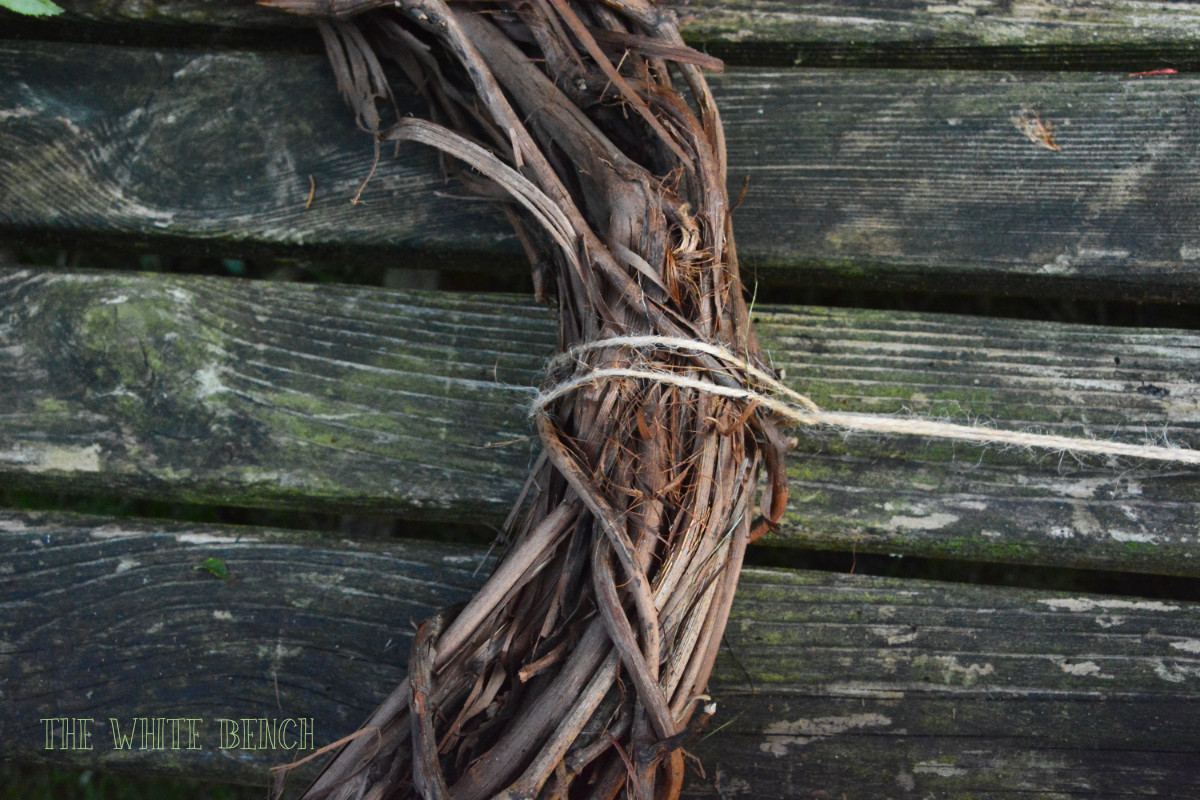
15. You can make your composition symmetrical or asymmetrical (I’m partial to very asymmetric and wild compositions!). Add a hanger made of twine or ribbon.
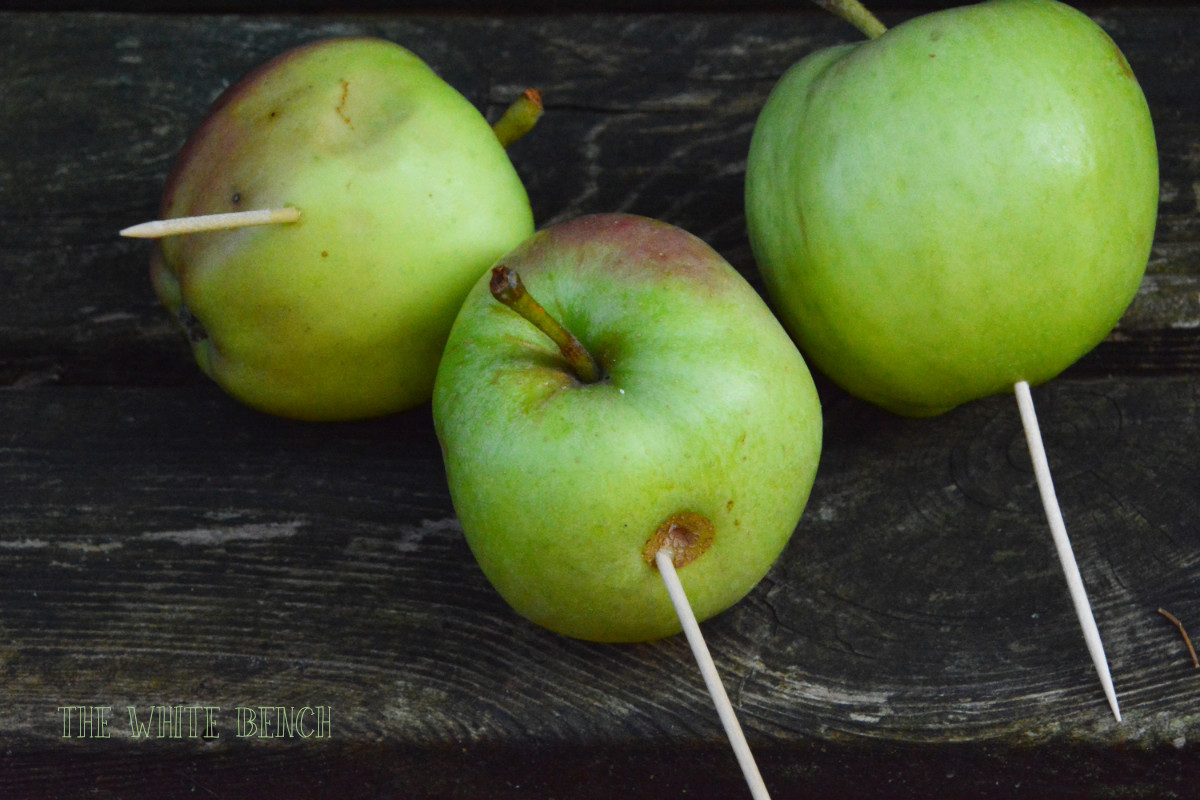
16. Hang in place without cutting the excess of twine in the beginning, and add an eye-catching central element (in my case, three green apples).
Now step back, smile, and clap your hands! :)
Monica xoxo

0 Comments